Redirect links are a crucial component of a successful Search Engine Optimization (SEO) strategy. Employing them correctly ensures a seamless user experience and bolsters your website's SEO performance. This blog will help you understand the intricacies of redirect link and how to make it work in your favor.
Understanding Redirects in Detail
Web users and search engines often encounter situations where they are directed from one URL to another - this is a redirect. Redirects are crucial when pages have been moved, broken, or duplicated. They ensure that users and search engines land on the most relevant page, enhancing the user experience and preventing SEO issues.
Redirects serve several essential functions. They forward traffic when an old URL no longer exists, retain authority when backlinks point to a moved page, and prevent visitors from landing on duplicate or broken pages. Neglecting to implement redirects can lead to 404 errors, losses in search engine rankings, and frustrated users. Hence, understanding and executing redirects are critical for a seamless user experience and good SEO practices.
The Importance of Redirect Link
Redirect links serve as a guiding beacon, navigating users from one URL to another. When a user clicks or enters a URL, a redirected link will lead them to a different destination URL. The importance of Redirect links is twofold:
1. They ensure users avoid landing on broken or duplicate pages, thereby enhancing the overall user experience.
2. They play a pivotal role in forwarding the authority when backlinks point to a page that has been moved, thereby helping to improve your website's rank. You can also use disavow tools to identify low-quality backlinks.
If you don't implement redirects correctly, you risk losing search engine rankings and potentially frustrating your users with a 404 error message like this:

Diverse Situations for Using Redirects
There are several situations when employing a redirect is a viable solution:
- When you change the URL of a webpage
- When you delete a page
- When you migrate your website to a new domain
- When you are performing maintenance on a webpage
- When you merge two duplicate web pages
- When you migrate your site from HTTP to HTTPS
Different Types of Redirects
There are three common redirect types: HTTP redirects, Meta Refresh redirects, and JavaScript redirects. Understanding the differences between these redirects can help you make informed decisions when implementing SEO strategies.
HTTP Redirects (Server side)
HTTP redirects, also known as server-side redirects, are implemented at the server level and are highly efficient for redirecting URLs. They utilize HTTP response status codes to indicate the type of redirect. Some common HTTP redirect status codes include:
301 Redirect Link
This code signifies a permanent redirect. It informs search engines that the original URL has moved permanently to a new location. It is important for SEO as it transfers the ranking signals and backlinks to the new URL, helping to maintain visibility in search results. You can use a 301 redirect checker tool to analyze its implementation.
302 Redirect Link
A 302 redirect indicates a temporary redirect. It informs search engines that the original URL has moved temporarily, and the change may not be permanent. However, it's important to note that search engines may treat a 302 redirect as a 301 redirect over time.
307 Redirect Link
Similar to a 302 redirect link, a 307 redirect indicates a temporary move to a new page but specifies that the user agent should continue using the original URL for future requests. It is useful when a website is temporarily unavailable or undergoing maintenance.
Meta Refresh Redirect Link
Meta refresh redirects operate at the page level (client-side). Though they aren't as SEO-friendly as HTTP redirects, Google recommends their use when a server-side redirect isn't possible due to their slower speed and less link equity passage. However, search engines may not interpret meta-refresh redirects accurately, potentially impacting SEO.
JavaScript Redirect Link
JavaScript redirects use client-side scripting to redirect users to a different URL. They are commonly used for dynamic content, A/B testing, or to provide a better user experience. However, search engines may not always execute JavaScript, which can lead to issues with indexing and SEO performance. It is important to ensure that JavaScript redirects are implemented properly and do not hinder search engine crawling and indexing.
Step-by-Step Guide to Implementing Redirects
Follow this guide to implement redirects;
Using WordPress Plugins for Redirection
Implementing redirects in WordPress can be made easier with the help of plugins. Here is a step-by-step guide to implementing redirects using WordPress plugins:
Step 1: Choose a Redirect Plugin
There are several redirect plugins available for WordPress. Some popular options include "Redirection," "Simple 301 Redirects," and "Yoast SEO." Choose a plugin that suits your needs and has good reviews and ratings.
Step 2: Install and Activate the Plugin
Once you have chosen a redirect plugin, install and activate it on your WordPress website. You can do this by following these steps:
- Go to your WordPress dashboard.
- Navigate to "Plugins" > "Add New."
- Search for the redirect plugin by name.
- Click on the "Install Now" button next to the plugin.
- After installation, click on the "Activate" button to activate the plugin.
Step 3: Access the Redirect Plugin Settings
After activation, the plugin will add a new menu option to your WordPress dashboard. Look for the plugin's name in the sidebar or navigation menu and click on it to access the plugin settings.
Step 4: Set Up the Redirect
The specific steps to set up redirects may vary depending on the plugin you choose. However, the general process involves adding the source URL (the URL you want to redirect from) and the target URL (the URL you want to redirect to). Here's a general guide:
- Look for an option to add a new redirect or create a new redirect rule.
- Enter the source URL (the URL you want to redirect from) in the designated field.
- Enter the target URL (the URL you want to redirect to) in the appropriate field.
- Save or publish the redirect rule.
Step 5: Test the Redirect
Once you have set up the redirect, it's important to test it to ensure it is leading to the correct page. Open a web browser and enter the source URL in the address bar. You should be automatically redirected to the target URL. If the redirect doesn't work as expected, double-check the URLs you entered and make any necessary adjustments.
Step 6: Manage and Monitor Redirects
Most redirect plugins provide additional features to manage and monitor your redirects. Explore the plugin settings to see if you can track the number of times a redirect is used, edit existing redirects, or access any other relevant functionality.
Redirects with Wix: A How-to Guide
Implementing the URL redirect in Wix is a straightforward process that can be accomplished through the platform's built-in features. Here is a step-by-step guide to implementing redirects using Wix:
Step 1: Log in to your Wix Account
Visit the Wix website and log in to your Wix account using your credentials. This will give you access to your website editor and settings.
Step 2: Access Site Settings
In the Wix dashboard, locate and click on the "Manage Site" button for the website where you want to implement the redirect. This will take you to the website editor.
Step 3: Go to the Site Manager
In the website editor, click on the "Site" menu located at the top left corner of the screen. From the dropdown menu, select "Site Manager."
Step 4: Select the "Marketing & SEO" Section
In the Site Manager, you will see a list of options. Look for and click on the "Marketing & SEO" section.
Step 5: Open the "SEO Tools" Tab
Within the "Marketing & SEO" section, locate the "SEO Tools" tab and click on it. This tab contains various SEO-related settings for your Wix website.
Step 6: Set Up the Redirect
In the "SEO Tools" tab, you will find an option to manage your site's 301 redirects. Click on the "Manage 301 Redirects" button to proceed.
Step 7: Add a New Redirect Rule
In the 301 Redirects manager, you can add new redirect rules. Click on the "Add New Redirect" button or a similar option provided to add a new redirect rule.
Step 8: Enter Source and Target URLs
In the redirect rule setup, you will see fields to enter the source URL (the web page URL you want to redirect from) and the target URL (the URL address you want to redirect to). Fill in these fields accordingly.
Step 9: Save and Test the Redirect
After entering the source and target URLs, save the redirect rule. It is crucial to test the redirect to ensure it works as intended. Open a web browser and enter the source URL to see if the URL redirection is correct.
Step 10: Manage and Edit Redirects
If you need to manage or edit existing redirects, you can revisit the "SEO Tools" tab and access the 301 Redirects manager. From there, you can make changes to your redirects, add new ones, or delete existing rules as needed.
Implementing Redirects using an .htaccess File
Implementing redirects using the .htaccess file is a common method used in Apache web servers. The .htaccess file allows you to configure various server settings, including redirects. Here is a step-by-step guide to URL forwarding using the .htaccess file:
Step 1: Access Your Website's Files
Connect to your website's server using an FTP client or a file manager provided by your hosting provider. Locate the root directory of your website where the .htaccess file is typically located. If you don't have an existing .htaccess file, you can create a new one.
Step 2: Backup Your .htaccess File
Before making any changes to the .htaccess file, it's essential to create a backup. This ensures that you have a copy of the original file in case anything goes wrong.
Step 3: Open the .htaccess File
Using a text editor, open the .htaccess file. If you don't have an existing .htaccess file, create a new file and name it ".htaccess".
Step 4: Set Up the Redirect
To implement a redirect, you need to add specific code to the .htaccess file. The code syntax depends on the type of redirect you want to create. Here are a few common examples:
a. 301 Redirect (Permanent Redirect):
To create a 301 redirect, use the following code:
Redirect 301 /old-page.html https://www.example.com/new-page.html

In this example, "/old-page.html" is the URL you want to redirect from, and "https://www.example.com/new-page.html" is the URL you want to redirect to.
b. 302 Redirect (Temporary Redirect):
For a 302 redirect, use the following code:
Redirect 302 /temp-page.html https://www.example.com/new-page.html

Similar to the previous example, "/temp-page.html" represents the URL you want to redirect from, and "https://www.example.com/new-page.html" is the URL you want to redirect to.
c. Redirecting a Whole Domain:
To redirect an entire domain to a new domain, use the following code:
Redirect 301 / https://www.new-domain.com/

In this example, any request made to the old domain will be redirected to the new domain specified.
Step 5: Save and Upload the .htaccess File
After adding the desired redirect code to the .htaccess file, save the changes. Make sure to upload the modified .htaccess file back to your website's root directory. If you created a new .htaccess file, upload it to the appropriate location.
Step 6: Test the Redirect
To ensure that the redirect is working correctly, open a web browser and visit the original URL you set up the redirect for. You should be automatically redirected to the target URL you specified. If the redirect doesn't work as expected, review the .htaccess file for any errors or typos in the code.
Essential Best Practices for Redirects
When implementing redirects on your website, it's important to follow best practices to ensure optimal user experience and maintain SEO integrity. Here are some essential best practices for redirects:
Redirecting to Close Match Content
When redirecting a URL, ensure that the redirect target page provides content that closely matches the original page. This ensures that users are directed to relevant content on the internet and reduces the chances of them bouncing back or experiencing confusion. It not only improves user experience but also helps in avoiding soft 404 errors. Redirecting to unrelated or irrelevant content may frustrate users and negatively impact their experience.
Avoiding Redirect Chains and Loops
Redirect chains occur when multiple redirects are set up in a sequence. For example, if URL A redirects to URL B, which further redirects to URL C, it creates a redirect chain. These chains can increase page load times, leading to a poor user experience and potential indexing issues for search engines.
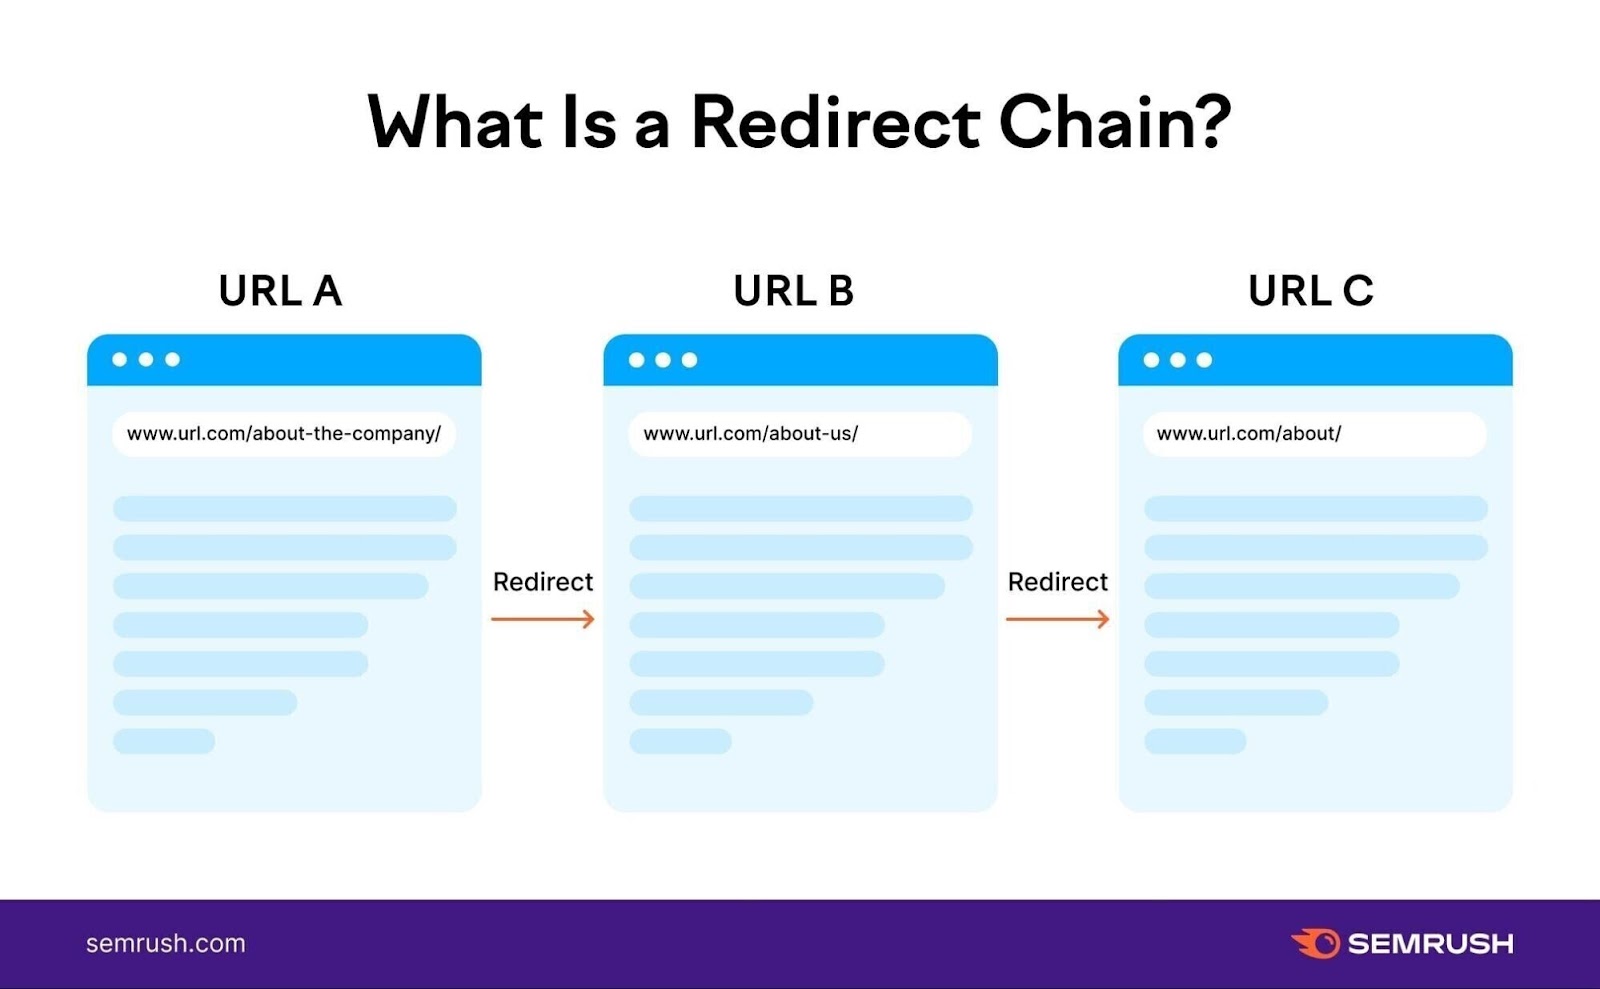
Similarly, redirect loops occur when two or more pages redirect to each other endlessly. Avoiding redirect chains and loops is crucial to maintain a smooth browsing experience and preventing search engine confusion.

Bypassing Pages with Redirects
Avoid redirecting users through unnecessary intermediate pages. If a redirect is needed, redirecting users directly to the target page is preferable. Redirecting users through multiple intermediate pages not only adds unnecessary steps but also slows down the overall user experience. Directly redirecting to the target page improves user satisfaction and reduces the chances of abandonment. This also prevents creating an extra redirect that can contribute to a redirect chain over time if not maintained.
Using Redirects to Circumvent Duplicate Content
It's not uncommon for a website to exist on multiple subdomains (non-www and www, HTTP and HTTPS, etc.). Redirects can be used to consolidate duplicate content on your website. When duplicate content exists on different URLs, using a redirect (such as a 301 redirect) from the duplicate URLs to a single canonical URL helps consolidate the content and avoid duplicate content issues. This ensures that search engines recognize the preferred version of the content and attribute authority and relevance to the correct URL.
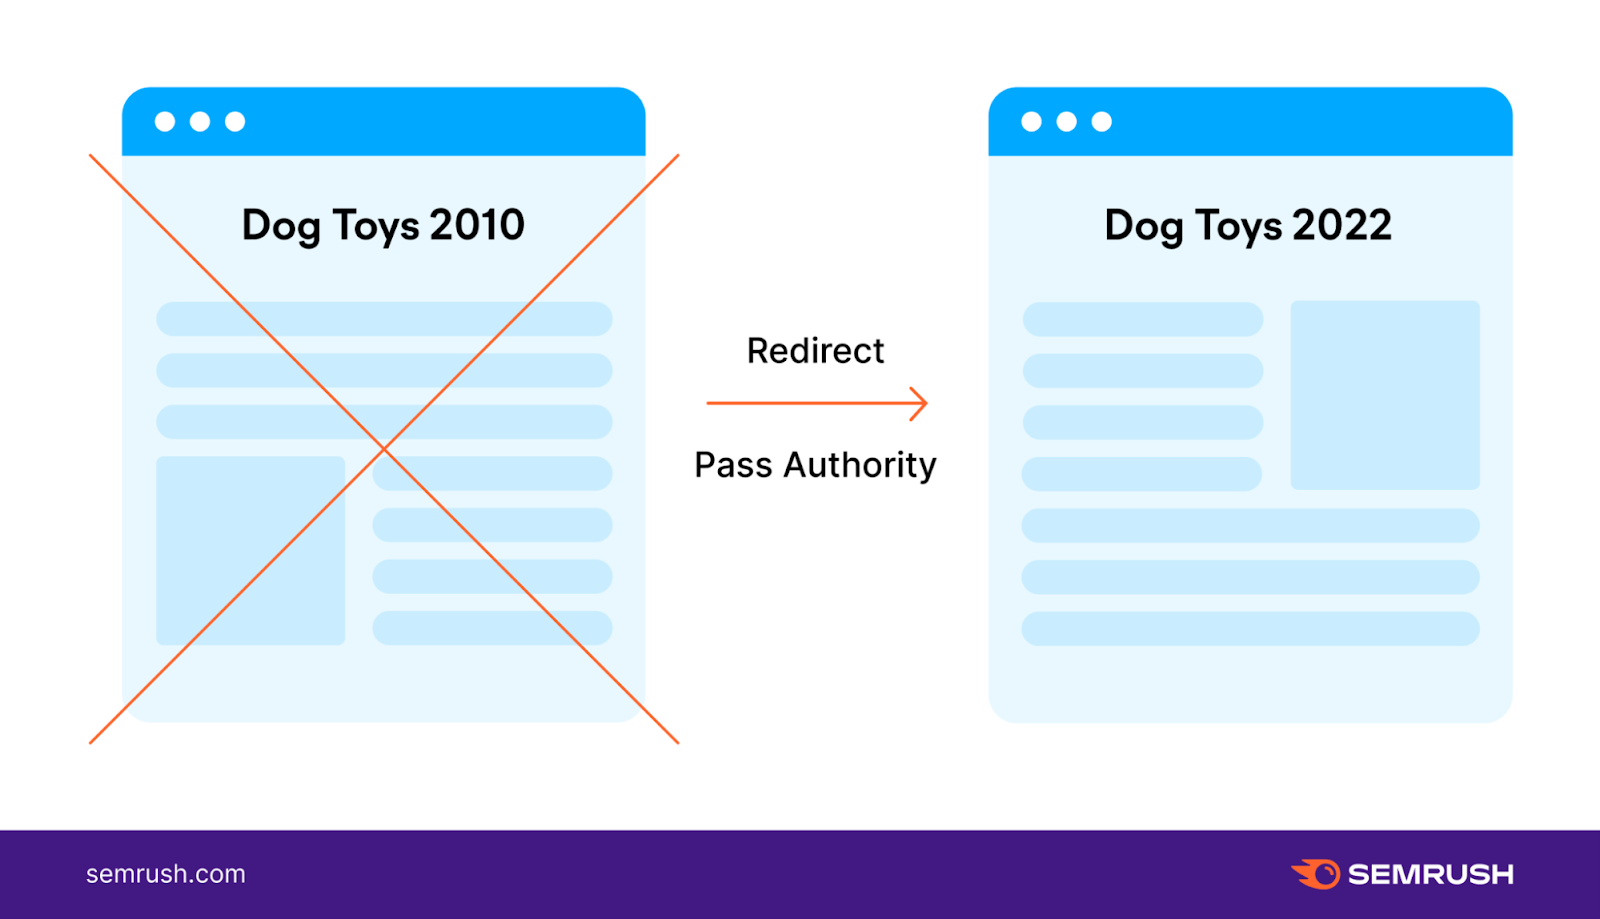
Using Redirects to Recover Lost Link Authority
When you change a URL or move content to a new location, implementing redirects allows you to transfer the link authority (also known as link juice) from the old URL to the new one. By using 301 redirects, you can preserve the SEO value of the old URL and redirect it to the new URL. This helps maintain the link equity, rankings, and authority associated with the original URL, preventing potential loss in search engine visibility.
Test Your Redirects
Last but not least, it is necessary to check your redirects from time to time. To test the redirect link, you can follow these steps:
- Open a web browser and enter the source URL that should trigger the redirect.
- Check if you are automatically redirected to the target URL specified in the redirect.
- Verify that the redirect preserves the correct HTTP status code (e.g., 301 for permanent redirects and 302 for temporary redirects). You can use online tools or browser extensions to inspect the HTTP headers and ensure the correct status codes are being returned.
Additionally, it's recommended to test redirects across different browsers, devices, and network conditions to ensure they function correctly in various scenarios.
Alternatively, you can use Scalenut's free Redirection Checker tool to test your URL.
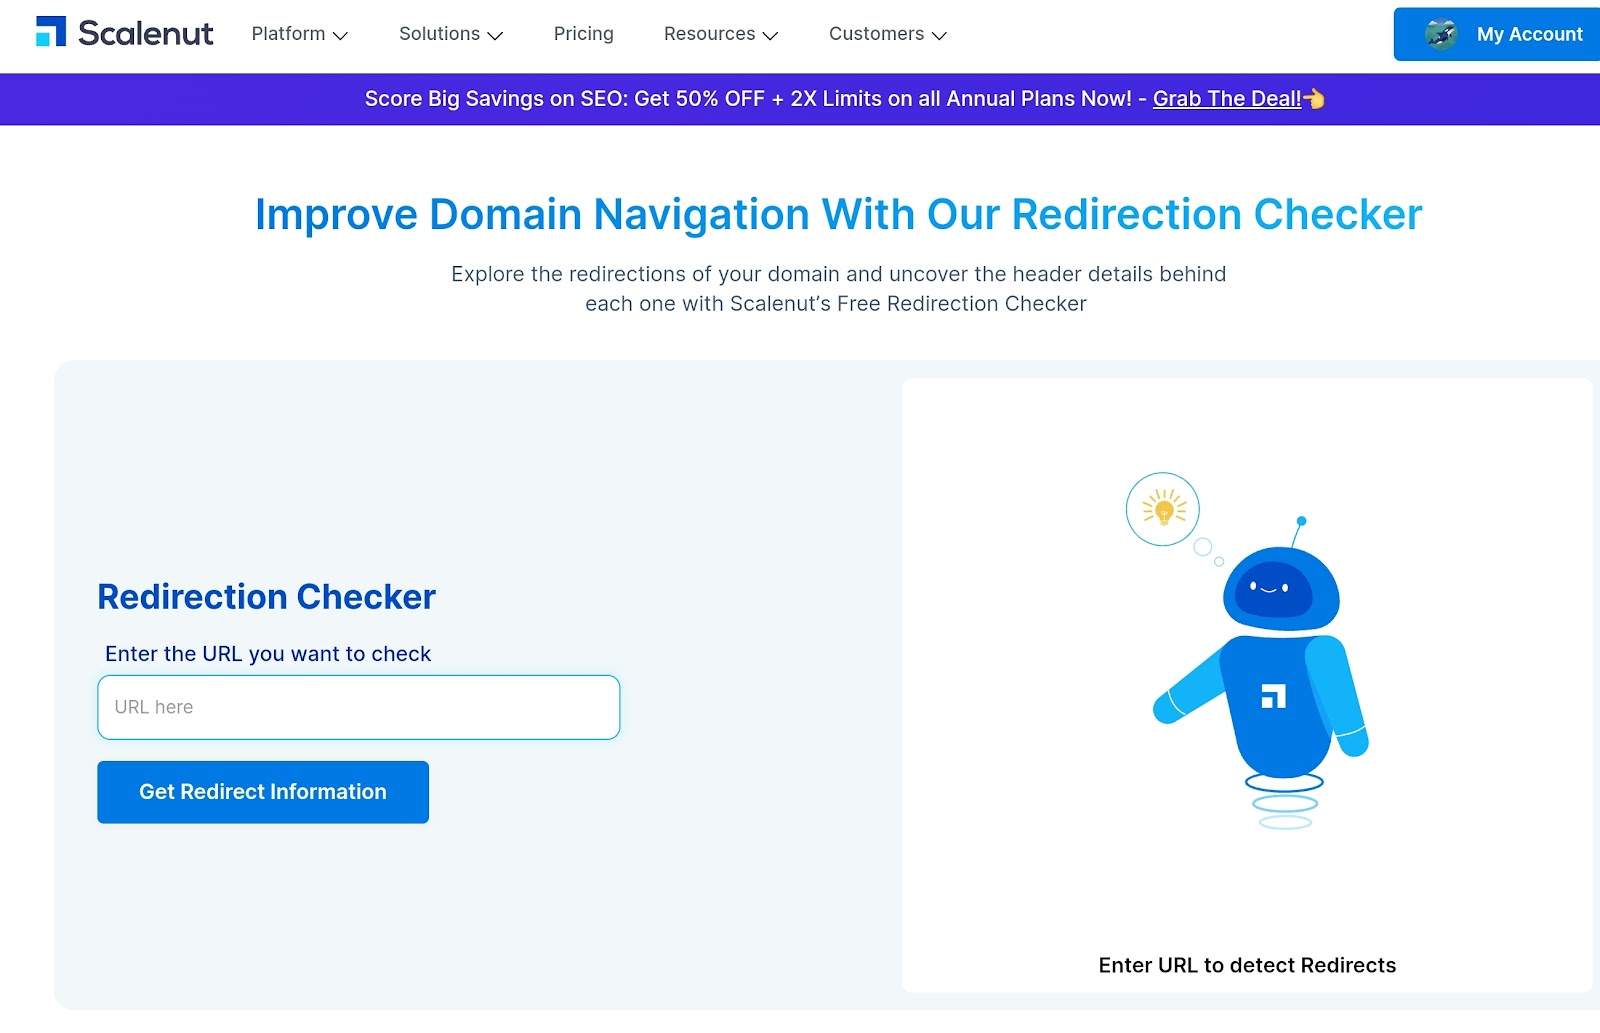
All you have to do is to enter the URL you wish to check and click on the "Get Redirect Information'' button. The tool will check the link and show you the results:

Redirect FAQs
Do Redirects Pass Page Authority?
Yes, redirects can pass page authority. When a redirect is set up, especially a 301 redirect, search engines generally transfer the majority of the link equity and SEO value from the redirected page to the target page. However, there may be a slight loss of authority in the process.
Are Redirects Bad for SEO?
Redirect links themselves are not inherently bad for SEO. In fact, they serve important purposes such as content consolidation, URL changes, and preserving link authority. However, improper implementation, excessive redirect chains, or incorrect use of redirects can negatively impact SEO, leading to slower page load times, poor user experience, and potential loss of rankings.
How Long Should You Keep Redirects in Place?
Redirects should be kept in place for as long as the redirection is needed. If the purpose of the redirect link is permanent, such as when permanently moving content or changing URLs, a 301 redirect should be used and kept indefinitely. Temporary redirects, like 302 redirects, should be removed or updated when the temporary condition no longer applies.
Conclusion
In conclusion, implementing a successful Redirect link involves understanding the different types of redirects and their appropriate use, avoiding common pitfalls such as redirect chains and loops, and following best practices to ensure a high-quality user experience. By employing these strategies, you can boost your website's SEO performance and ensure a seamless user experience.
About Scalenut
Scalenut is an AI-powered SEO and content marketing platform that helps discover and create relevant content for your customers. Be it brainstorming a content strategy, creating comprehensive briefs, generating the content, or optimizing it per the best SEO practices, Scalenut has made the process extremely easy. Click here to create a free account and explore the many features of this tool.


.webp)